How Outdoor Creators Can Turn Raw Adventure Clips into Clean Social Videos
From the Trail to Your Camera Roll
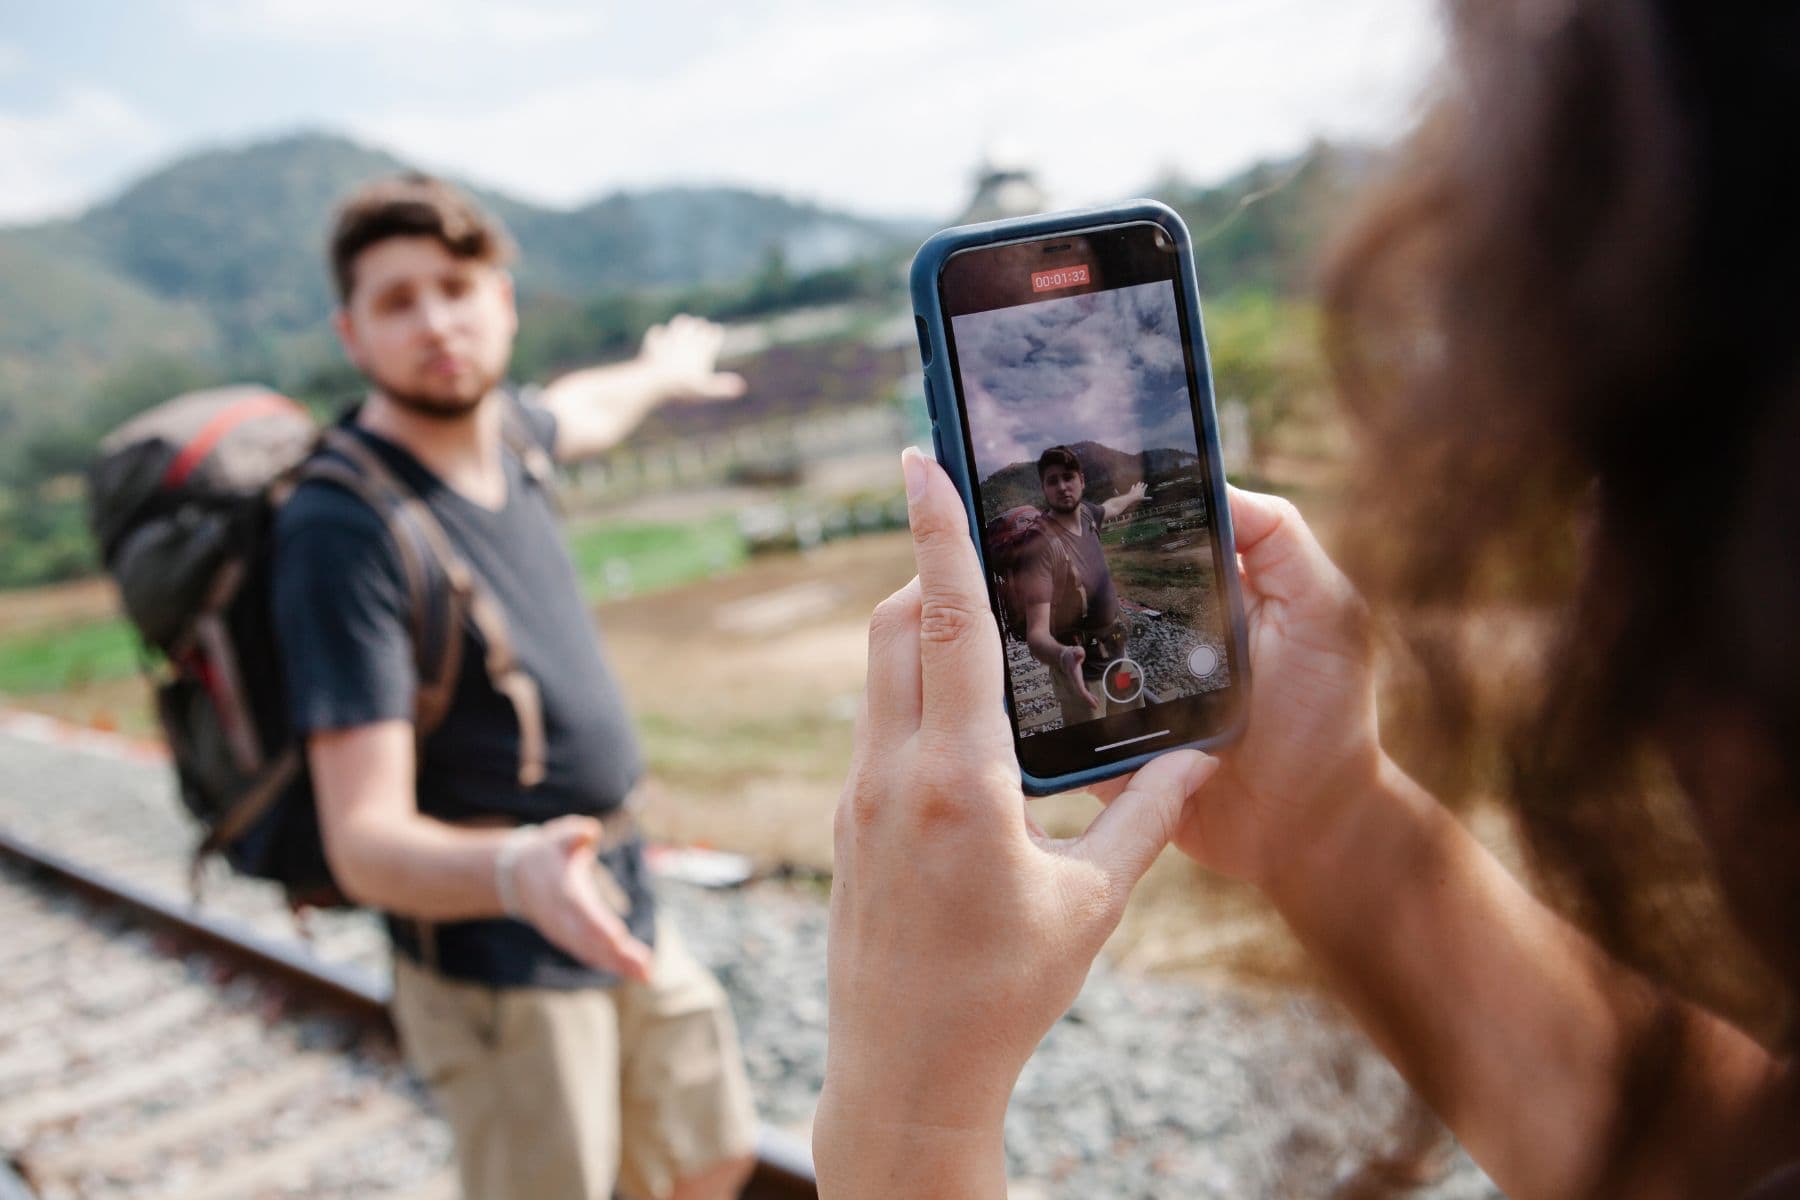
You get home after a full day hiking, kayaking, skiing, climbing, or camping and check your camera roll.
Yep, there are way too many clips.
Some photos are perfect: a mountain summit shot, a flawless wave, an awesome downhill run or an amazing evening campfire shot. But the other ones are shaky, too dark, too noisy, compressed, or have an unwanted overlay or watermark.
And that’s the tricky part. Getting footage is only half the job. The tough part is that you need to work with all these not so good clips and create some decent, interesting videos.
So, where do you even start?
You don’t need a complicated editing setup. A simple cleanup workflow can turn rough adventure footage into cleaner, more social-ready clips and remove video watermarks.
Why Adventure Footage Comes Back Rough
Footage shot outdoors usually looks good against a natural backdrop and doesn’t get quite that great a look once you’ve got it indoors.
Here’s the most common reasons for it:
Problems Typical for Outdoor Content
- Lights changing: It can so happen that during filming in bright sunlight, you end up filming in shadowed places, underneath trees, or the side of canyon walls. Exposure changes very fast and sometimes even during a single clip.
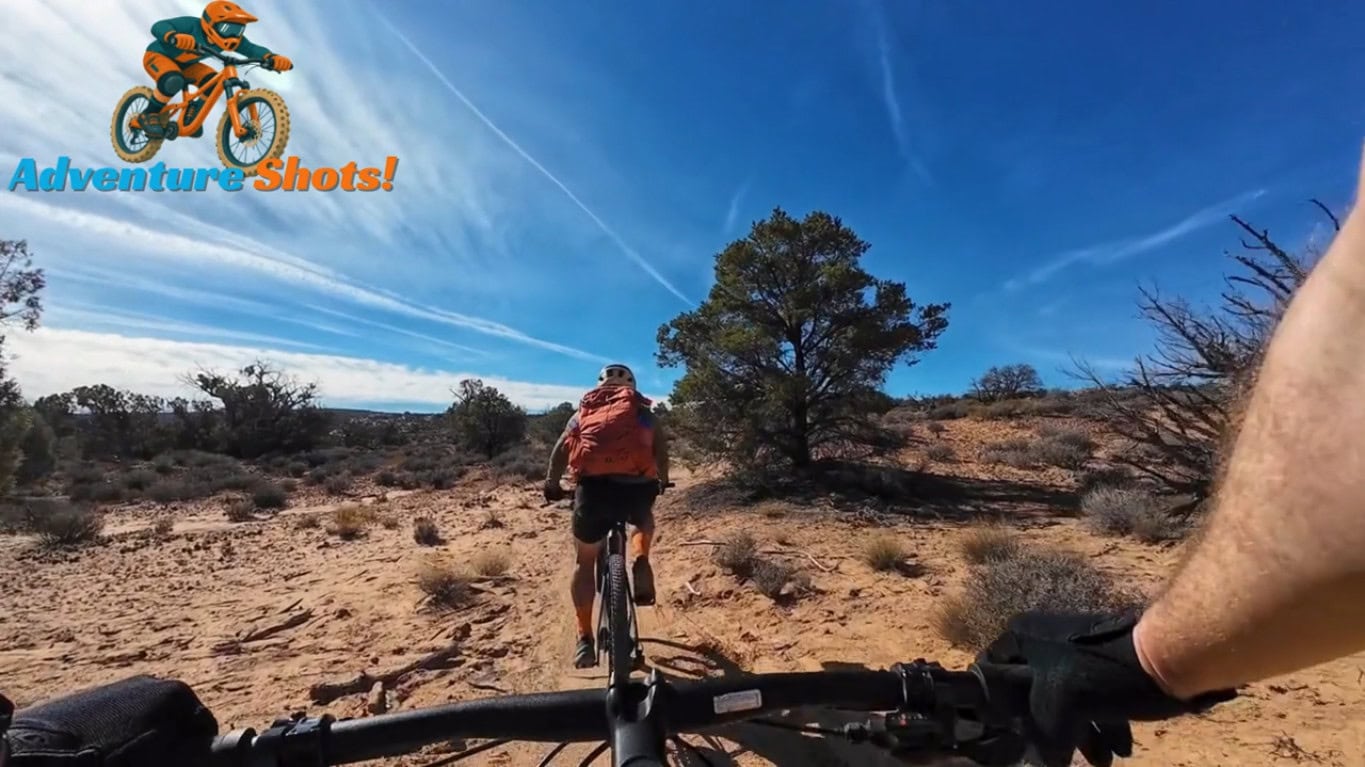
- Shake and grip: Even the best stabilization cannot prevent all vibrations if you are shooting with a hand-held or chest/cycle-mounted camera.
- Compression: A video shot initially by an action camera or another mobile device then transferred to a smartphone, a messaging app, etc., will probably suffer some loss in quality with each new transfer.
- Trademarks, stickers, or texts: The video sent by a relative, an old repost, or a trial editing app can be still branded by a visible watermark or logo. That may interfere with a clean final product when it is your goal.
How To Clean Up Adventure Footage with AI
After the trip, don’t just throw all the clips straight into your editor.
A little preprocessing can make the editing a lot faster
1. First, decide which videos are worth keeping
Browse through the footage and highlight the scenes that you feel convey the story. The summit shot, the clean down climb, the massive wave, or that great wildlife photo.
40 takes of the same trail are not your best bet.
Get rid of shots with the obvious errors, the duplicates, and the clips that are so spoiled they don’t have any value at all. In the end, there will be only a set of shots worth the effort
2. Use AI Tools To Clean Up Watermarks and Unwanted Overlays
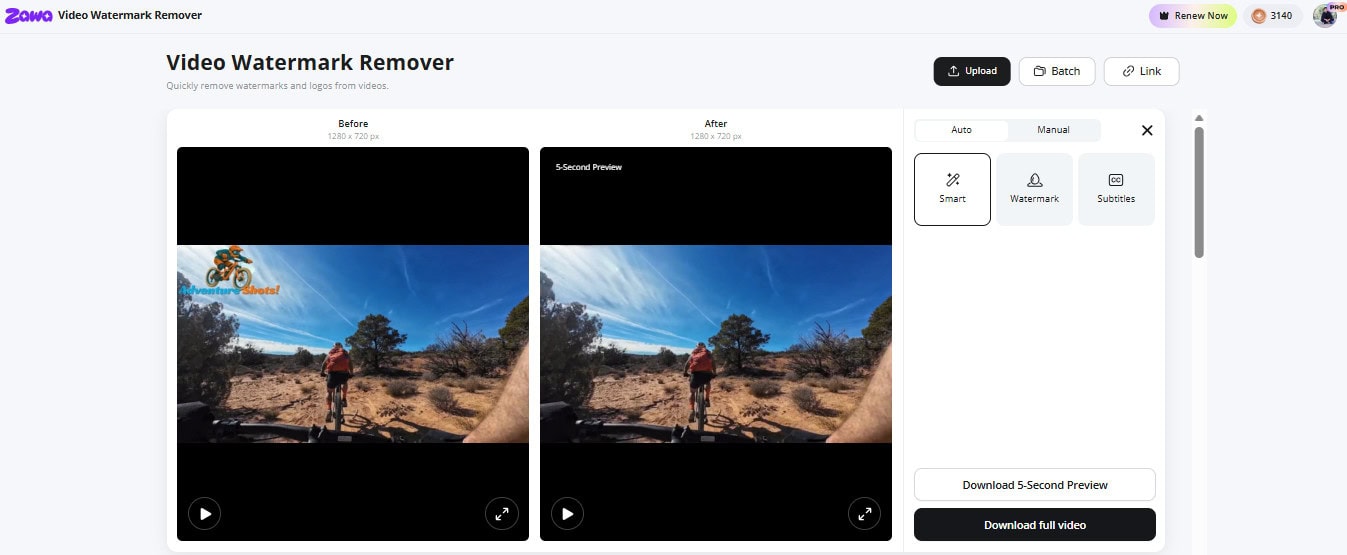
If a clip you’re allowed to use is spoiled by an unwanted watermark, logo, text, or burned-in subtitle, there are some online tools to remove watermark in videos. One of the tools is Zawa. Zawa AI Video Watermark Remover can perform that editing task entirely in the browser window.
You can upload MP4, MOV, or M4V videos. The video watermark remover takes care of all the necessary frame-by-frame masking for your watermark, which saves you from having to do it manually yourself.
Depending on the type of clip you are using, you can choose from Smart or Watermark mode. There’s also a Subtitles mode that helps get rid of hardcoded captions, if that is what your case involves. After editing, you can check the preview and decide if the video looks clean enough to go to the final cut.
Important: Only remove watermarks that appear on videos that you legally own or for which you have permission to repurpose.
Use Manual Selection When the Background Is Complicated
Automatic removal is handy when a watermark sits in a clear corner. But outdoor footage isn’t always that simple.
What if the mark is sitting right over a rock, a tree branch, or someone’s jacket?
Zawa’s Manual mode enables you to pinpoint the precise spot on the frame that has to be deleted. This can save a great deal in situations where the mark is running across faces, gear, water, or rough terrain.
Instead of having the tool clean the frame’s entire area in one go, you can restrict it to the particular part that truly requires cleanup.
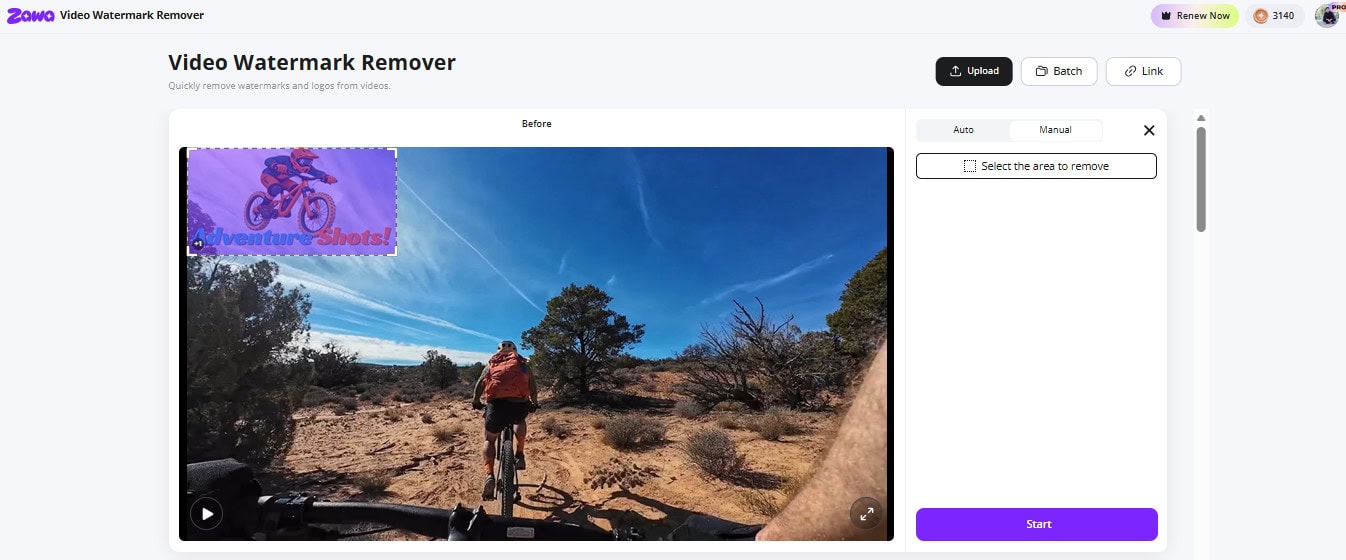
More than a few background or camera movements can make the manual selection a vital asset to the process.
Remove Burned-In Subtitles Without Cropping the Shot
Old watermarks or captions can be just as nuisance as any crop. You may even see time stamps, subtitles, stickers or in-clip branding baked into footage from an old edit.
Cropping them isn’t always the right choice, particularly if you’re working with vertical adventure footage, where every inch of the frame counts.
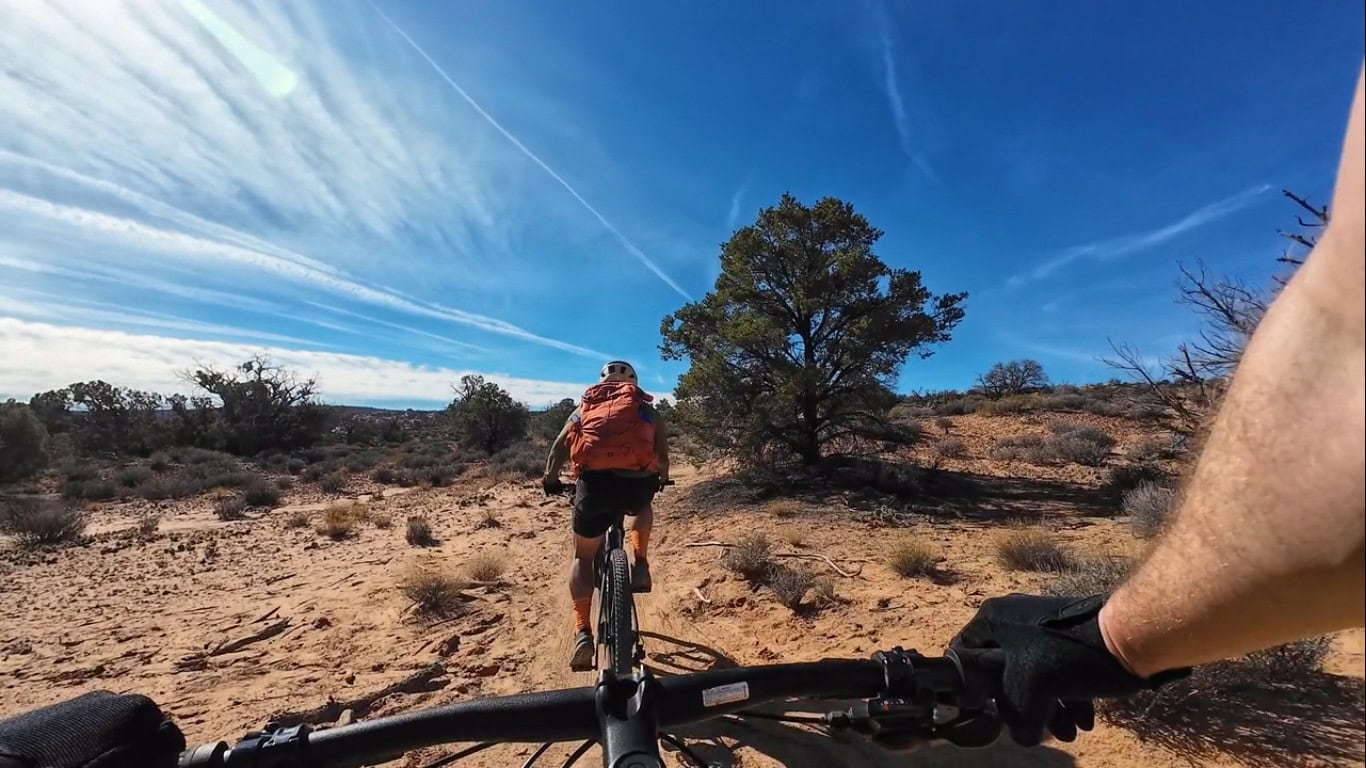
You can isolate hardcoded text with Zawa’s Subtitles mode so you can restore the clip’s aspect ratio while removing it.
Turn One Adventure into Several Social Videos
One adventure doesn’t have to mean one video. Once your footage is cleaned up, you can cut the same trip into several pieces without making it feel repetitive.
The 15–30 Second Highlight
Keep this one quick. Start with something that grabs attention, show the action, then end on the payoff.
Hook → Action → Payoff
A steep descent, big waves, summit view, or close wildlife moment can work well here.
Give people the good part first. They can ask where you were later.
The Short Adventure Story
Want a little more room? Turn the trip into a mini story.
Where you went → What happened → Best moment → Result
You could show the trail at the start, a few moments from the journey, the main highlight, and how it ended. It gives viewers more context without turning the video into a full-length vlog.
Gear-Focused Clips
The same footage can also become useful gear content.
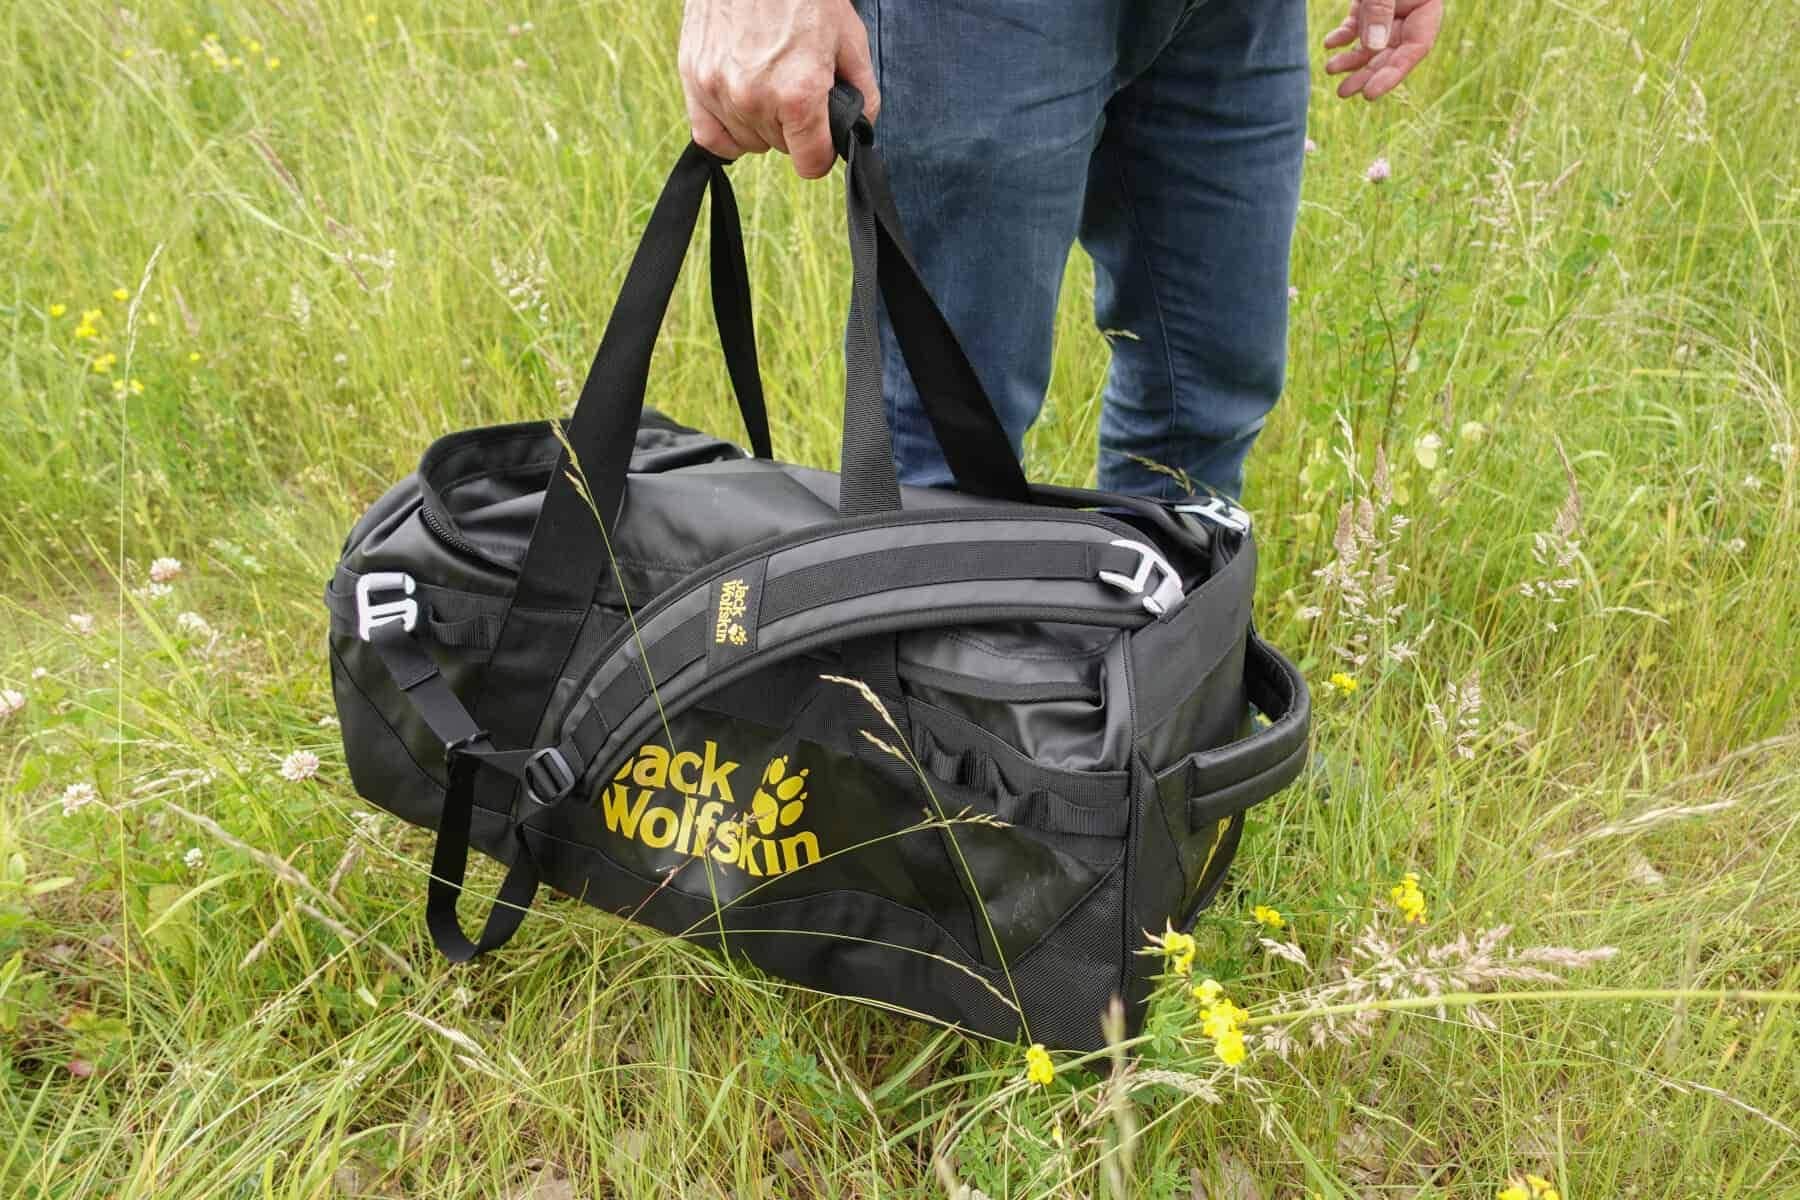
Show the backpack you carried, the action camera you used, your hiking shoes, tent, paddle, diving gear, or outdoor clothing in action.
Instead of filming a separate product demo, let the adventure do the talking. A few natural shots can show how the gear fits into the trip.
Conclusion
You don’t need to start out with a polished clip when you get home. Just sort out the shots that matter, learn what to fix and what’s not worth the effort.
Sort out the classics, take out the dust overlays, fix small glitches and then get editing. Technologies like Zawa’s Video Watermark Remover can be a great way to tidy up that shot when you have burned-in text or other marks you need to remove. And don’t settle for just the one; that one mountain photo or two-minute kayaking session, could be one Reel, a short story or a few smaller posts.
 Back
Back